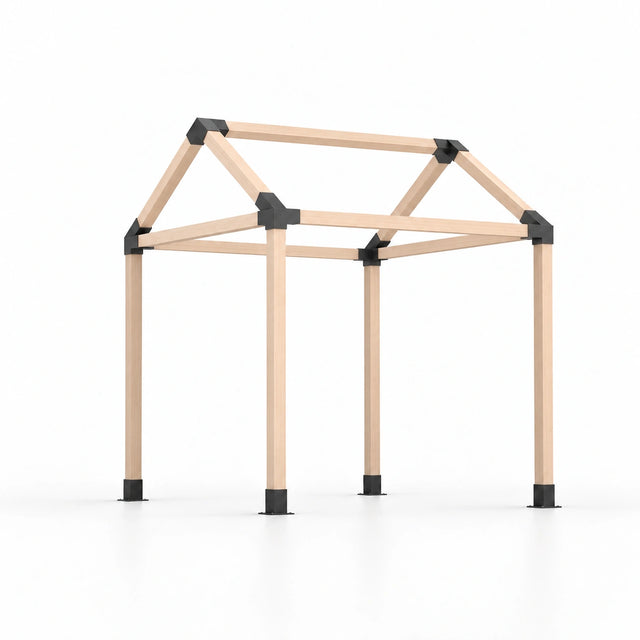
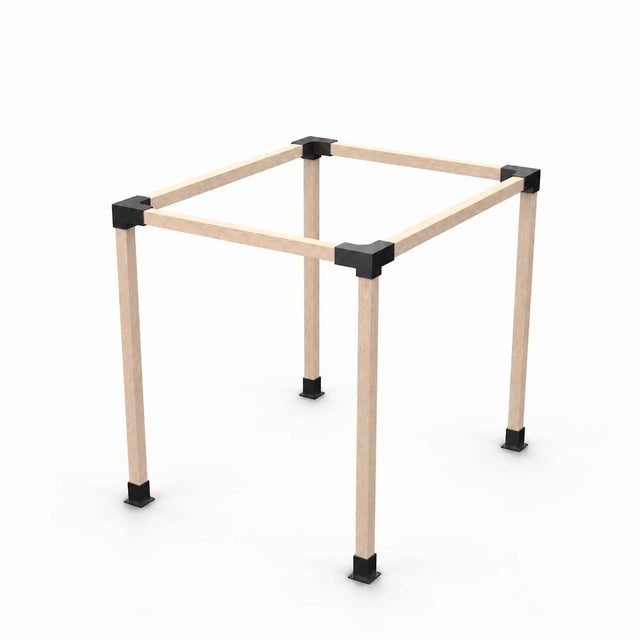
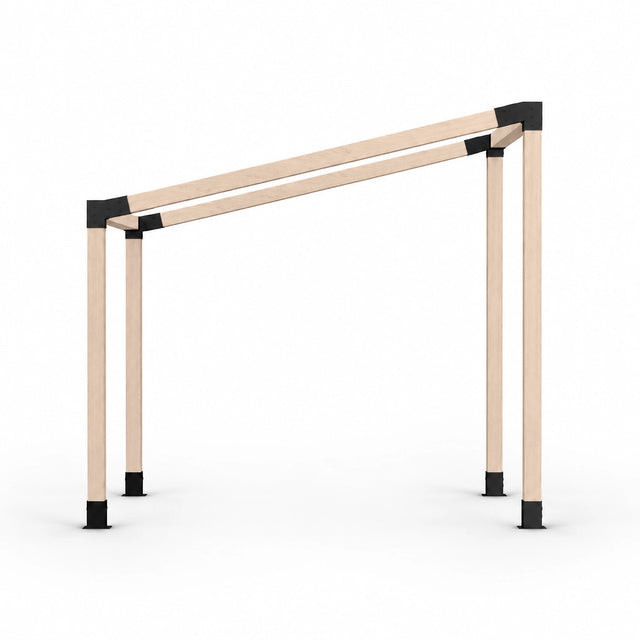
Build instructions
Double Sloped Roof Pergola Build Instructions
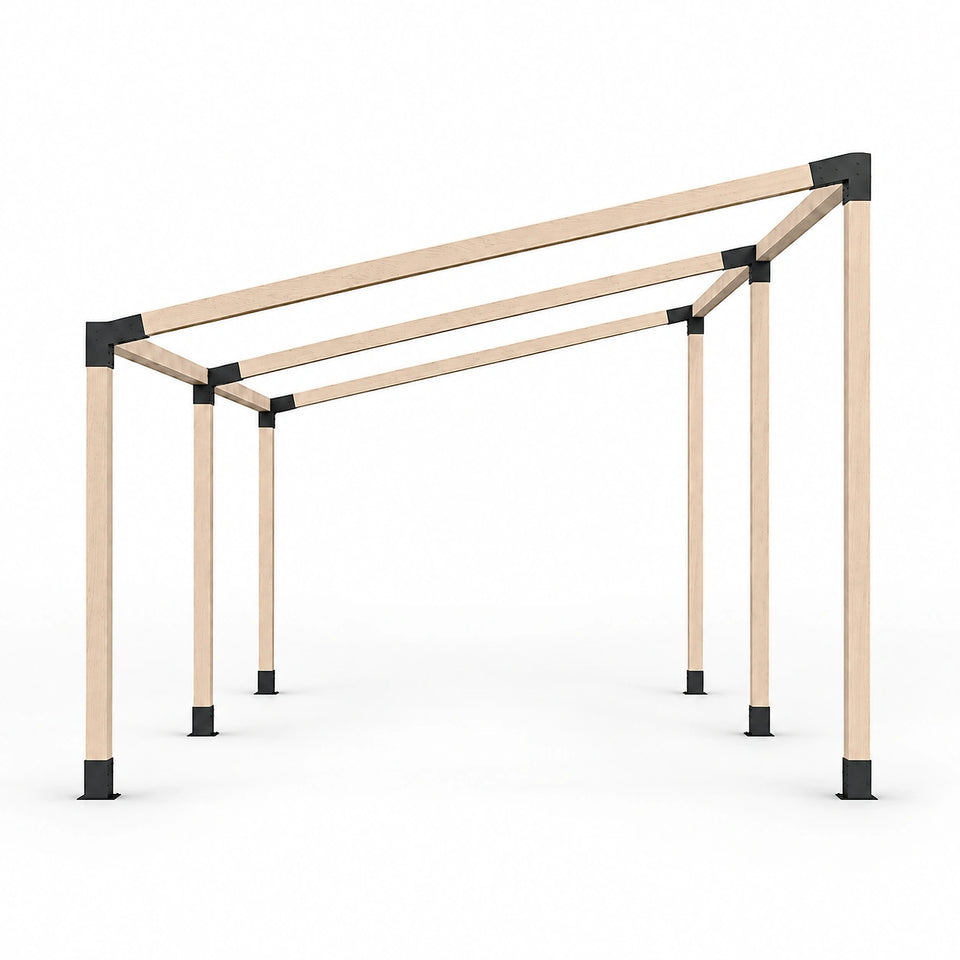
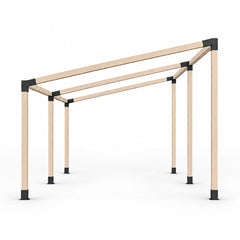
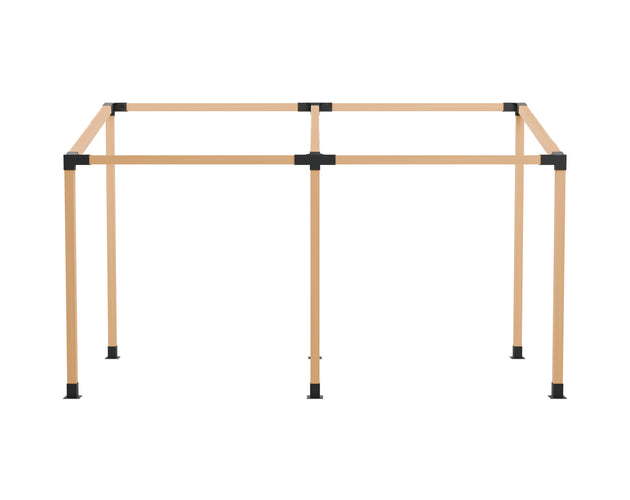
How to assemble the Jurrque 6-post double sloped roof pergola kit with your own 4x4 lumber: build the first bay, add its posts, then build the second side and slide it into the first. The roof slopes from a high front to a low back.
- 5 steps
- 5 part types in the kit
- Lumber not included
Fits these kits
In this guide5 steps
What's in the box
- 415° 3-way corner brackets one for each outer corner
- 215° 4-way center brackets 1 at the front, 1 at the back
- 6Post bases
- 256Screws
- 30Expansion bolts
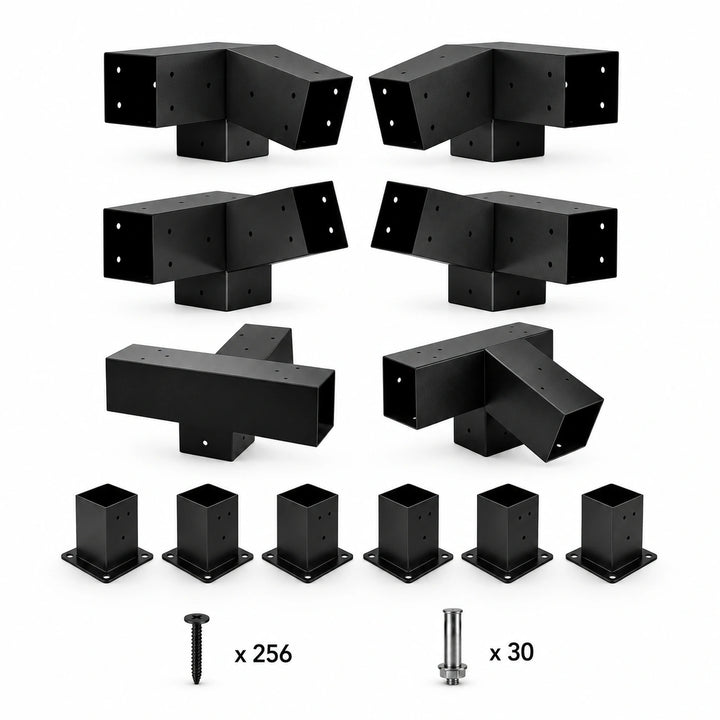
The kit includes brackets and hardware only. Lumber is not included.
Lumber you'll need
PieceQtySizeLength
Front postsThe taller posts, at the high end of the roof
Qty3
Size4x4 (actual 3.5 x 3.5 in.)
Length8 ft recommended, 10 ft maximum
Back postsAt the low end of the roof
Qty3
Size4x4 (actual 3.5 x 3.5 in.)
LengthShorter than the front posts (see the notes below)
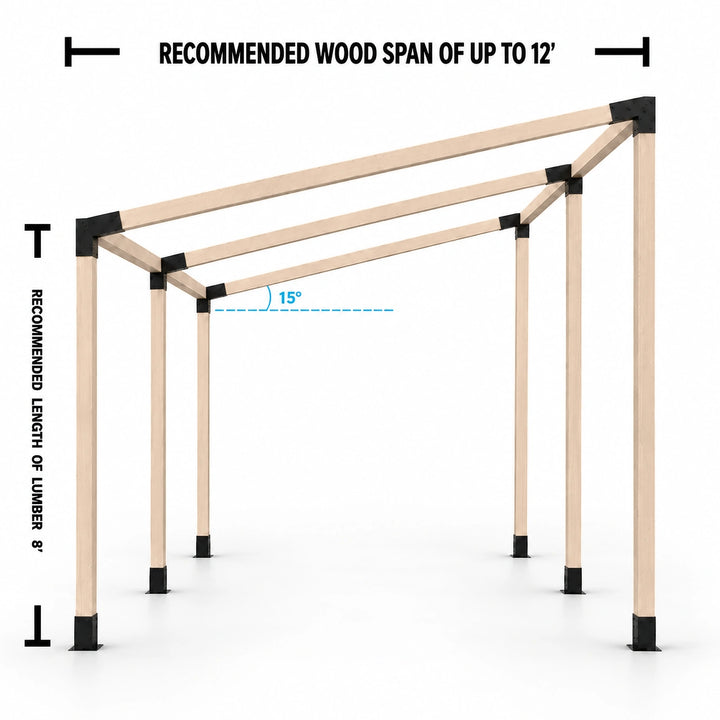
Sloped beamsFront to back, along the 15° slope
Qty3
Size4x4 (actual 3.5 x 3.5 in.)
Length12 ft span recommended, 14 ft maximum
Level beams2 across the front and 2 across the back (1 per bay)
Qty4
Size4x4 (actual 3.5 x 3.5 in.)
Length12 ft span recommended, 14 ft maximum
Counts are for the standard layout shown in the product diagram. Choose lengths to suit your space.
- When purchasing your lumber, always take a bracket with you to ensure a proper fit.
- You can select whatever lumber suits your style and budget. It must be dry and straight.
- The brackets are sized for dressed 4x4 lumber, which measures 3.5 x 3.5 in.
- The roof slopes at 15°, high at the front and low at the back, so the back posts are shorter than the front posts. The frame drops about 3.2 in. for every foot of level depth from front to back.
- Back post length = front post length minus (level depth in ft x 3.2 in.). Example: 10 ft (120 in.) front posts and a 10 ft depth give back posts of about 88 in. (7 ft 4 in.).
- Span is measured between two adjacent brackets: 12 ft is recommended and 14 ft is the maximum. Posts are recommended at 8 ft, with a maximum of 10 ft.
- If you plan to add a roof, shade panels or another added load, confirm your design with your local building department.
Tools & hardware
What you need
- Ladder(s)
- Drill(s)
- Measuring tape
- Cardboard (placed under the brackets so they don't scratch your surface or the brackets)
Screws
- Each bracket only requires 3 screws per side (each set of three holes).
- 1-1/2 in. pan-head wood screws with a Robertson/Phillips combo drive.
- Hardware to secure the brackets to the wood is included.
Step-by-step instructions
-
Step 1: Build the top
Link copied- Lay out two 15° corner brackets and the two 15° center brackets for the first bay. Each bracket fits one position only: check that the sloped beams will run downhill from the front to the back.
- Build a “U”: insert one level beam and two sloped beams into the brackets.
- Build an “I”: insert the second level beam into the remaining brackets.
- Secure each bracket to the lumber with the provided screws.
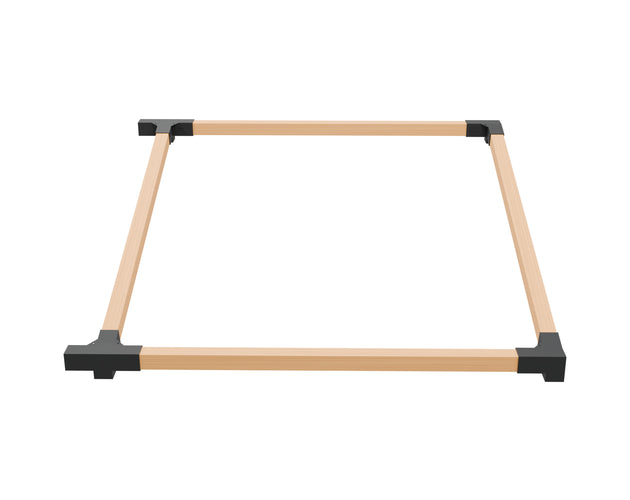
Tip: Place cardboard under the brackets so they don't scratch your surface or the brackets.
-
Step 2: Insert the posts on the first side
Link copied- Lift the outer side of the first bay (the corner brackets) and insert two posts, with a post base on the bottom of each post.
- Use the taller post at the front and the shorter post at the back.
- Secure each bracket to the lumber with the provided screws.
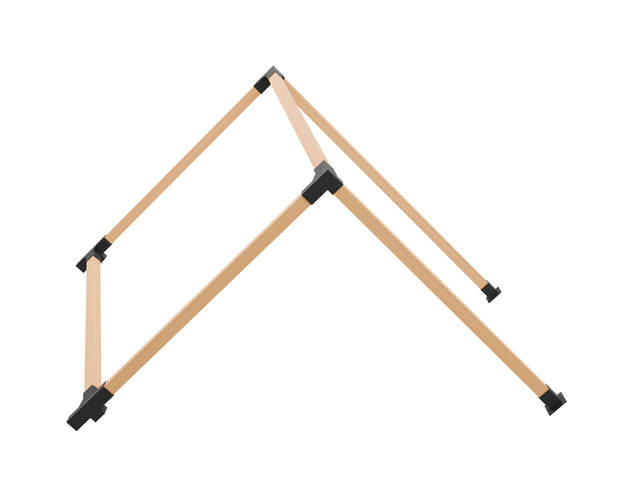
Tip: Have a helper hold the frame while you lift it and insert the posts.
-
Step 3: Add the center posts
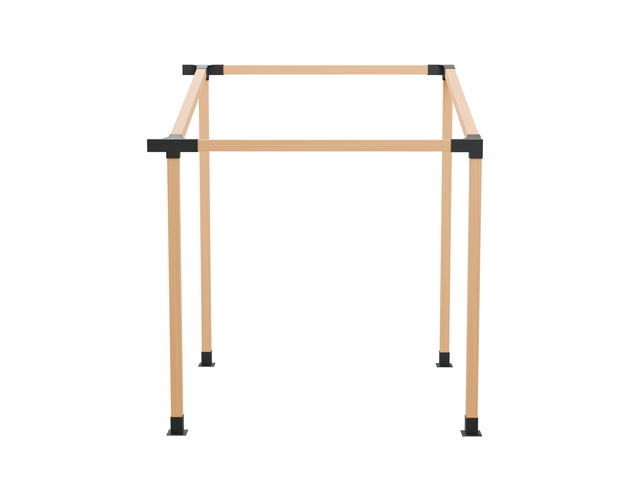
Link copied- Insert two posts, with their post bases, into the 15° 4-way center brackets: the taller post at the front and the shorter post at the back.
- Secure each bracket to the lumber with the provided screws.
- The first bay of the double pergola is now built.
-
Step 4: Build the second side
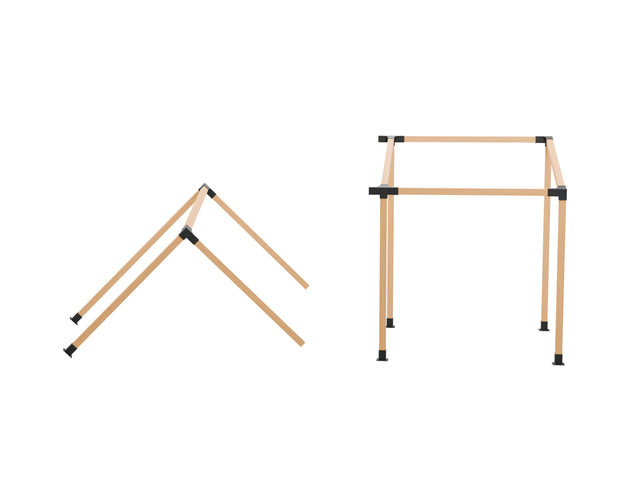
Link copied- Insert the last sloped beam into the remaining two corner brackets, then add the last two level beams.
- Insert the last two posts, with their post bases: the taller post at the front and the shorter post at the back.
- Secure each bracket to the lumber with the provided screws.
-
Step 5: Complete the frame
Link copied- Lift the second side and slide the level beams into the center brackets of the first bay.
- Secure each bracket to the lumber with the provided screws.
- Check that the posts are plumb and the frame is square.
- Anchor to your surface.
Need help with your build? Contact our support team