Build instructions
A-Type Pergola Build Instructions
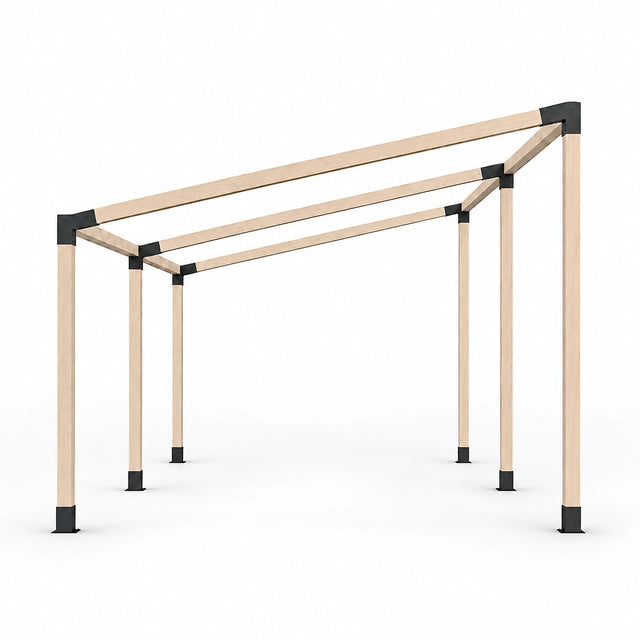
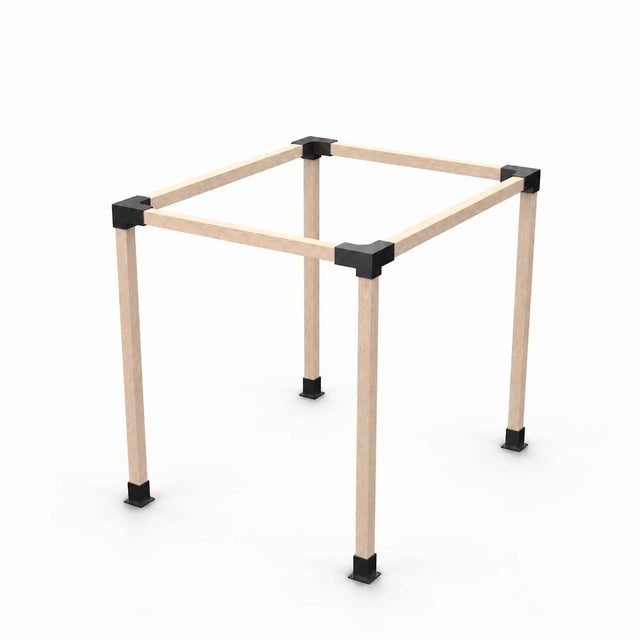
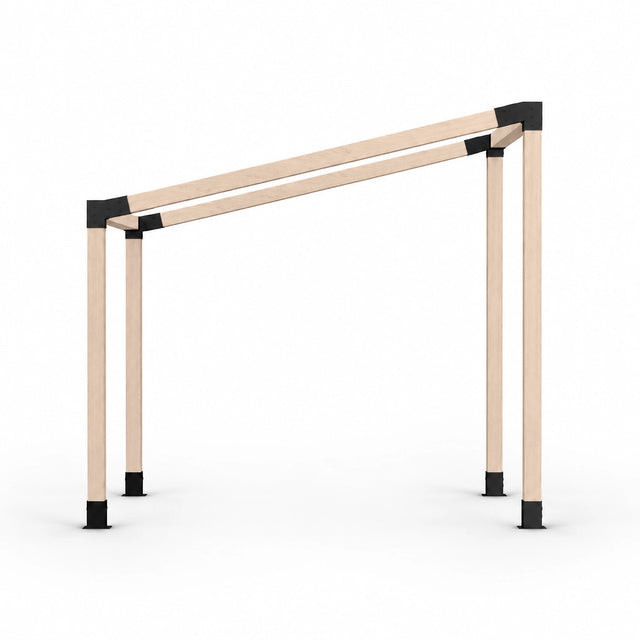
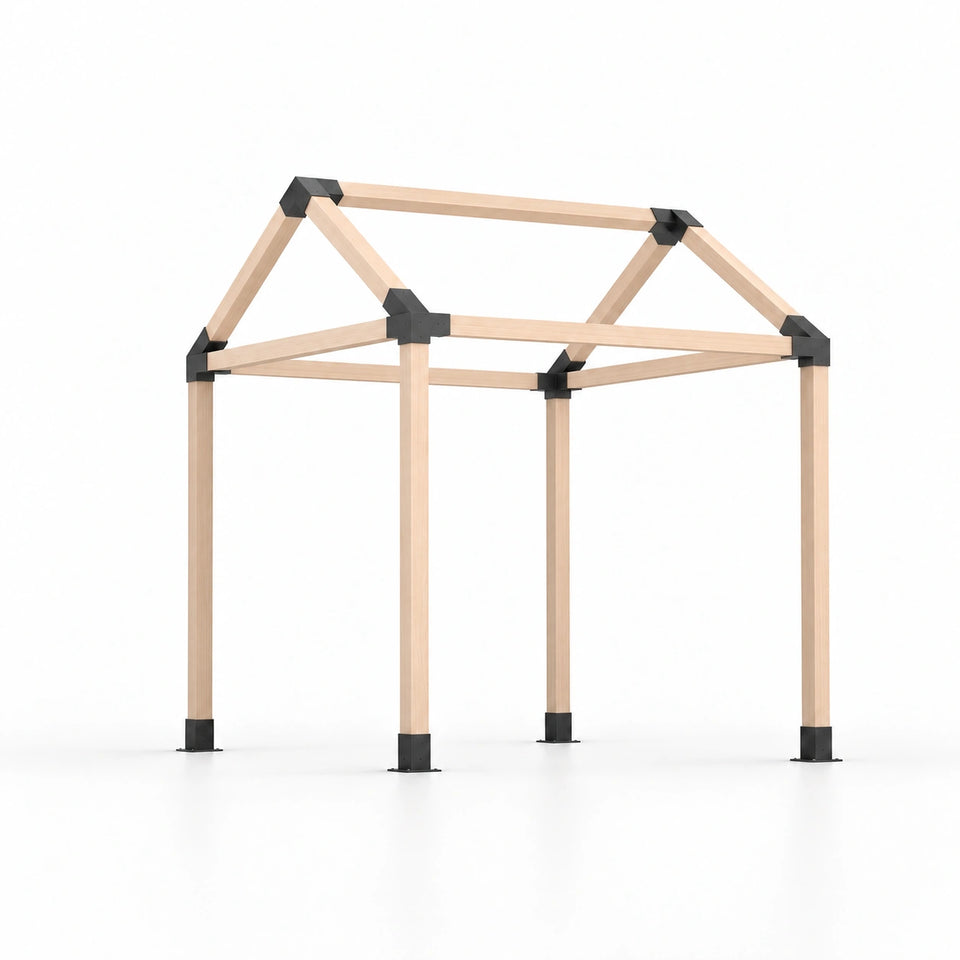
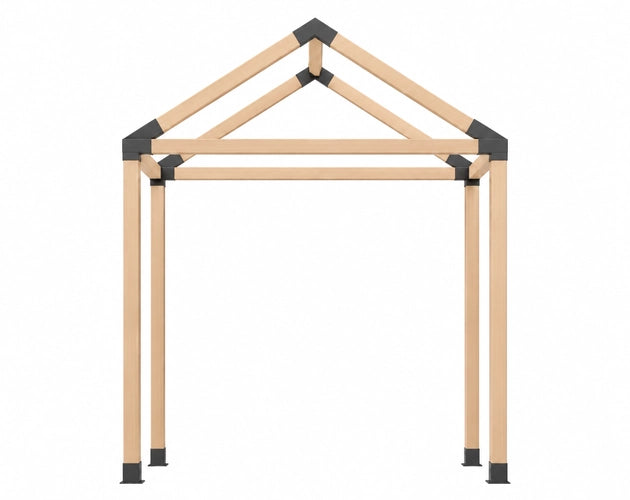
How to assemble the Jurrque A-type pergola kit with your own 4x4 lumber: build the pitched roof frame on the ground, then lift it one side at a time onto four posts and anchor the frame.
- 5 steps
- 5 part types in the kit
- Lumber not included
Fits these kits
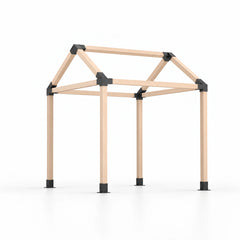
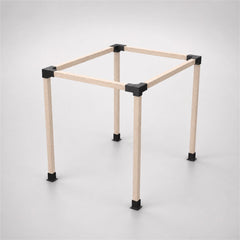
In this guide5 steps
What's in the box
- 4A-type corner brackets post, 2 level beams and 1 rafter
- 2A-type peak brackets 2 rafters and the ridge beam
- 4Post bases
- 128Screws
- 20Expansion bolts
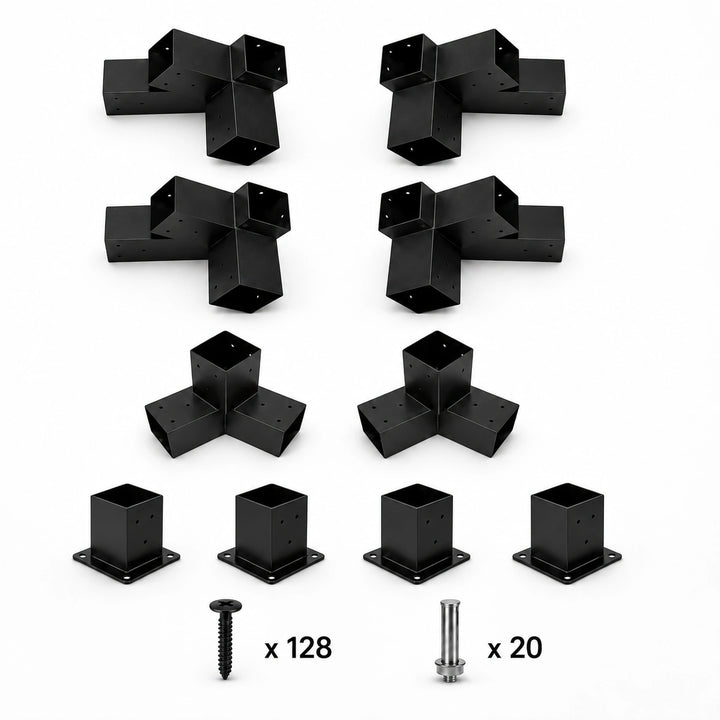
The kit includes brackets and hardware only. Lumber is not included.
Lumber you'll need
PieceQtySizeLength
Posts
Qty4
Size4x4 (actual 3.5 x 3.5 in.)
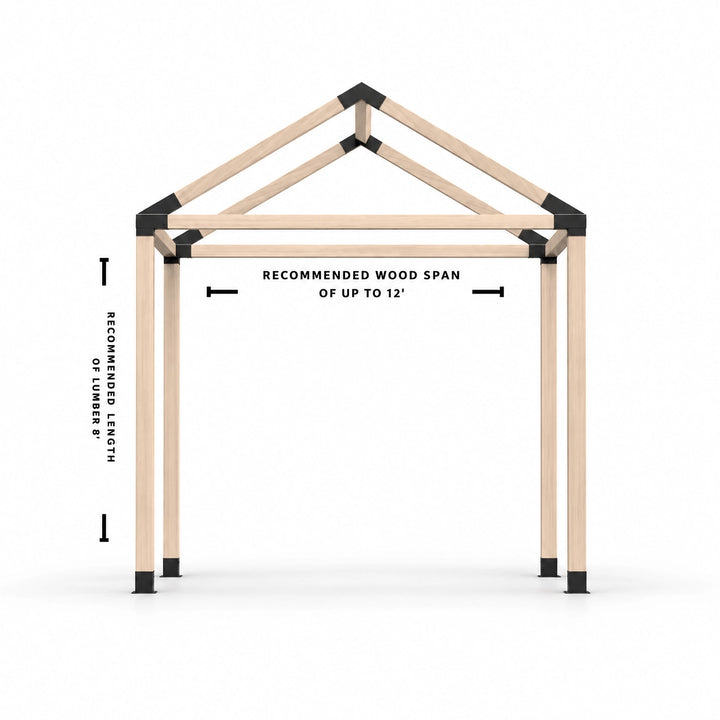
Length8 ft recommended, 10 ft maximum
Side beamsAlong each side, from the front corner to the back corner
Qty2
Size4x4 (actual 3.5 x 3.5 in.)
Length12 ft span recommended, 14 ft maximum
End beamsAcross the front and the back, under each gable
Qty2
Size4x4 (actual 3.5 x 3.5 in.)
Length12 ft span recommended, 14 ft maximum
Rafters2 per gable, from the corners up to the peak
Qty4
Size4x4 (actual 3.5 x 3.5 in.)
LengthSet by your width; dry-fit the brackets and measure
Ridge beamBetween the two peak brackets
Qty1
Size4x4 (actual 3.5 x 3.5 in.)
LengthMatch your side beams; dry-fit to confirm
Counts are for the standard layout shown in the product diagram. Choose lengths to suit your space.
- When purchasing your lumber, always take a bracket with you to ensure a proper fit.
- You can select whatever lumber suits your style and budget. It must be dry and straight.
- The brackets are sized for dressed 4x4 lumber, which measures 3.5 x 3.5 in.
- Span is measured between two adjacent brackets: 12 ft is recommended and 14 ft is the maximum. Posts are recommended at 8 ft, with a maximum of 10 ft.
- If you plan to add a roof, shade panels or another added load, confirm your design with your local building department.
Tools & hardware
What you need
- Ladder(s)
- Drill(s)
- Measuring tape
- Cardboard (placed under the brackets so they don't scratch your surface or the brackets)
Screws
- Each bracket only requires 3 screws per side (each set of three holes).
- 1-1/2 in. pan-head wood screws with a Robertson/Phillips combo drive.
- Insert screws in the holes closest to the wood.
- Hardware to secure the brackets to the wood is included.
Step-by-step instructions
-
Step 1: Build the first side of the roof frame
Link copied- Join two A-type corner brackets with a side beam.
- Insert an end beam and a rafter into each of these brackets.
- Secure each bracket to the lumber with the provided screws.
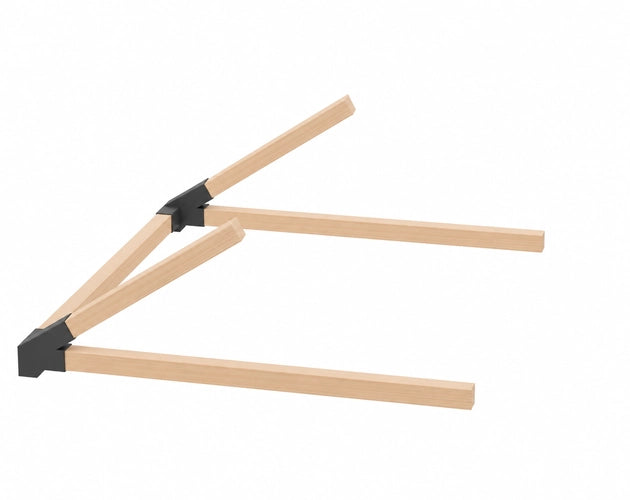
Tip: Place cardboard under the brackets so they don't scratch your surface or the brackets.
-
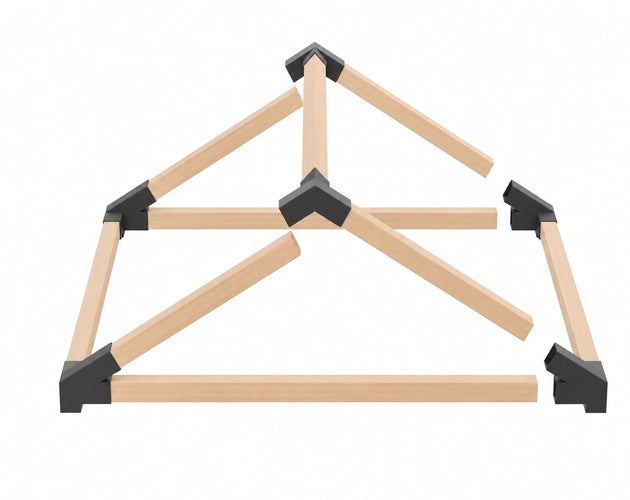
Step 2: Add the peak brackets and the second side
Link copied- Fit an A-type peak bracket on the top of each rafter and insert the ridge beam between the two peak brackets.
- Insert the second pair of rafters into the peak brackets.
- Join the last two corner brackets with the second side beam and line them up with the free ends of the end beams and rafters.
-
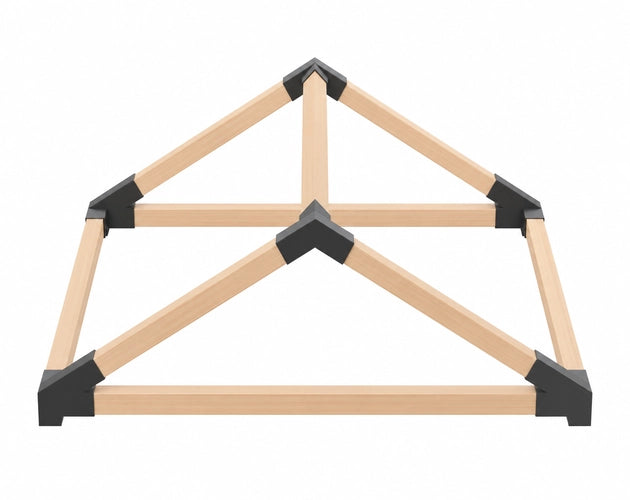
Step 3: Close the roof frame
Link copied- Push the second side onto the end beams and rafters until every joint is fully seated.
- Check that the roof frame is square.
- Secure each bracket to the lumber with the provided screws.
-
Step 4: Insert the posts on the first side
Link copied- Lift one side of the roof frame and insert two posts into the corner brackets on that side, with a post base on the bottom of each post.
- Secure each bracket to the lumber with the provided screws.
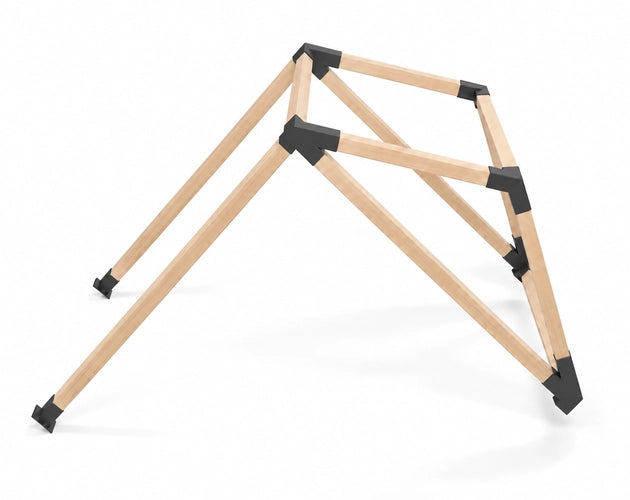
Tip: Have a helper hold the frame while you lift it and insert the posts.
-
Step 5: Complete the frame
Link copied- Lift the second side and insert the last two posts, with their post bases.
- Check that the posts are plumb and the frame is square.
- Secure each bracket to the lumber with the provided screws.
- Anchor to your surface.
Need help with your build? Contact our support team